Blog post 4
The 27th Annual Creatin Contest Part 2 – The Cottage
The dilapidated dragon cottage sprung from my imagination in
a fully formed picture that I simply followed to completion. I’m not great at sketching out a plan or considering
where things should go, so I was lucky that everything just sort of came
together.
As always at the start of a new project, I started a
Pinterest board online and began to collect and print inspiration
pictures. One of my main inspiration
pics for the outside of the cottage was of the old Millhouse at Hobbiton. I’ll add in a picture so you can see what I
mean!
I started the building by gluing the main MDF body together
and then went on to make the walls for the top half of the cottage. Because I was intending to use a rigid foam
product to create the bottom stone walls, I needed to build the upper walls out
slightly to match the width. I used foam
core for the outside of all the walls and cardboard for the inside. To build up the two half walls I used foam
core glued together to the matching thickness.
I sealed all edges of the foam core pieces with brown paper – a trick I
learned from a friend! I made the roof
with foam core also.
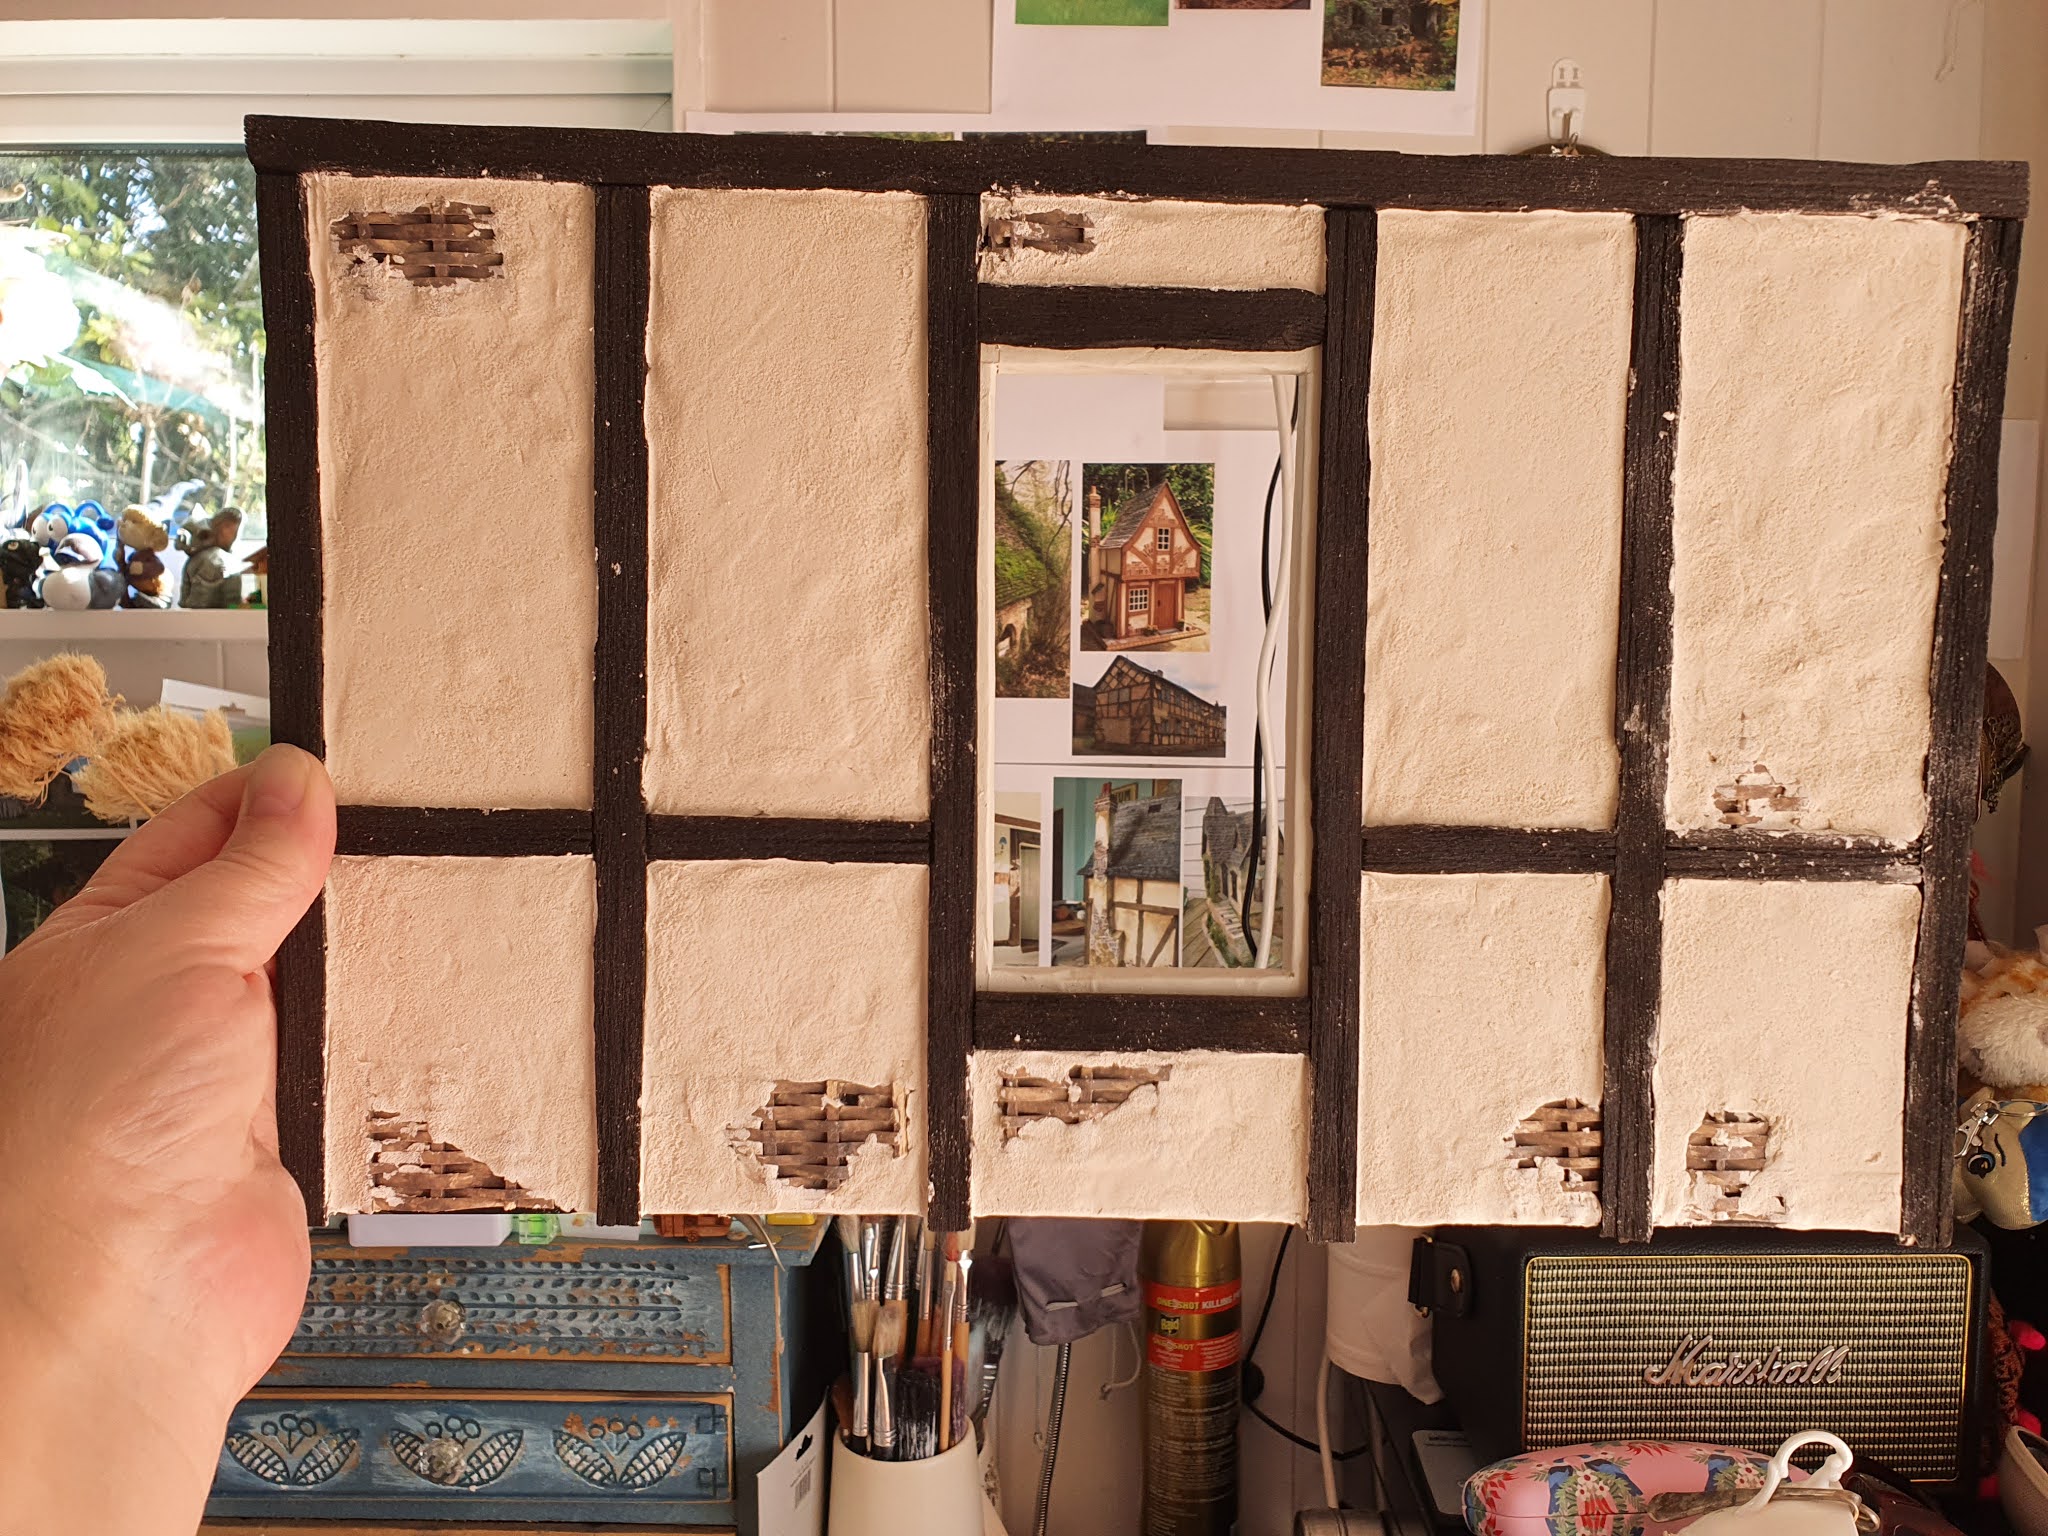
I then glued the timber framing pieces on, having stained
and aged them all first. The ‘plaster’ or
daub was made by using Creative Paperclay following directions from the
Techniques book by Rik Pierce. I also
followed his instructions to make the underlying wattle. I Loved working with paperclay – I have since
found so many different uses for it, if only it wasn’t so hard to find here in
NZ!
For the bottom half of the buildings, I used a thin rigid
foam product in which I carved in the lines to create the ‘rocks’ and then
painted. I loved the process of painting
and aging the rocks although I’d doubt myself every time wondering if I could
get it looking any good. Thankfully
always it seemed to come right. I also
created a heap of broken-down rocks out of the foam and painted in the same
way. Most of those are piled under the
grass and greenery so you see the vague shapes but nature has crowded in over
the stones.
I made the slate tiles of the basement out of polymer
clay. I made half pillars for holding up
the main floor and some have deep grooves scratched into them from the dragon and
blackened by fire.
Many of the fine details I put into the build are unseen as
there are so many layers. For me however, they needed to be there as they were part of the story.
I filled in the larger window from the kit and put a smaller
window in it’s place. I also changed out
the door and added another window to the half chimney wall. This was quite tricky to work out but I’m
very happy with the result.
It took me two attempts to get the chimney right. The first was just too big – in fact the
chimney was a bit of an oversight. While
I knew the cottage needed a chimney I hadn’t planned for where it could
go. This is where making a preliminary
sketch or plan would have come in handy.
I’m just lucky it worked out okay!
Once all the walls fitted – upper and lower, they were glued
in place. The half-floor I lined with
planks – I also created the beams that would have held the floor up. I endeavored to smash and break both
floorboards and beams – although given how much time would have passed, growth
etc would have covered so much of this, and indeed when I came to aging, many of
these details were hidden and lost from view.
I’ll add in some photos of the process and in my next post I’ll
talk more about the landscaping which was just as big a job as the building
itself – if not more!
Thanks for reading and please feel free to leave comments or
questions below.
Rebecca xx


Fabulous! I love all the progress pics. I agree about the underlying details; even though no one may see them, you know they are there. Great job! Congratulations again.
ReplyDeleteThank you Debora!! I have taken so many photos over the months, it's lovely to be able to share them. xx
DeleteSuch a wonderful inspiration building that turned this kit into a creative masterpiece! I'm really looking forward to more photos and intel about the project, Rebecca!
ReplyDeleteThanks Jodi! Yes - the Hobbiton set designers certainly knew what they were doing! I think the scenery was the biggest learning curve for me given that I have never done that before!
DeleteFirst... Congratulations on your Creatin Contest win. It was well deserved. I’m so happy to see you join this wonderful miniaturists blog community, already I’ve learned from you. Wrapping the edges of foam core with paper is a fabulous idea.
ReplyDeleteThank you very much Sherrill!!! Yes - that brown paper makes so much difference, but seems like such a simple fix you wonder why you didn't think of it already!! A big thank you to my friend Meghan for that tip!
DeleteThe project is looking so great. I also love the picture of your little helper testing to make sure the stairs are in just the right place. *smile* I have one of those little helpers as well. She works very cheaply but is very finicky.
ReplyDeleteThank you Marilyn! Yes....I have three of those wonderful furry helpers.....who don't always...um...help! Still, they are such characters we forgive them all!!
DeleteHello Rebecca....Lovely to see you in blog land. I am so happy you won the grand prize. Your build was amazing.
ReplyDeleteAw...thank you so much Carrie!! I think I've always been a closet blogger as I've always taken photos of processes and compiled blogs as I go in my head! Now I just need to stick at it!
Delete